Retrospective tutorial
Create a profile
This tutorial covers the following topics:
-
Creating a profile in the Profiles tab
-
Renaming a profile
-
Adding log files and containers from Docker and Kubernetes to a profile by browsing the local/remote filesystem or the container subsystem.
Profiles are user defined lists of log files and/or containers that are resisted and thus available in later sessions. When searching, Retrospective will process only log files and/or containers defined in the selected profile.
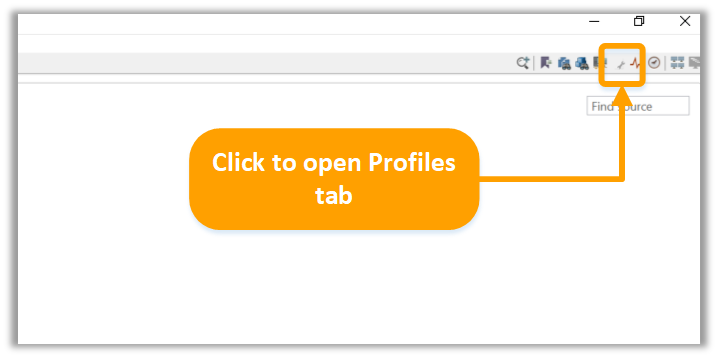
Step 1
Open the Profiles tab by clicking the paper icon in the toolbar.
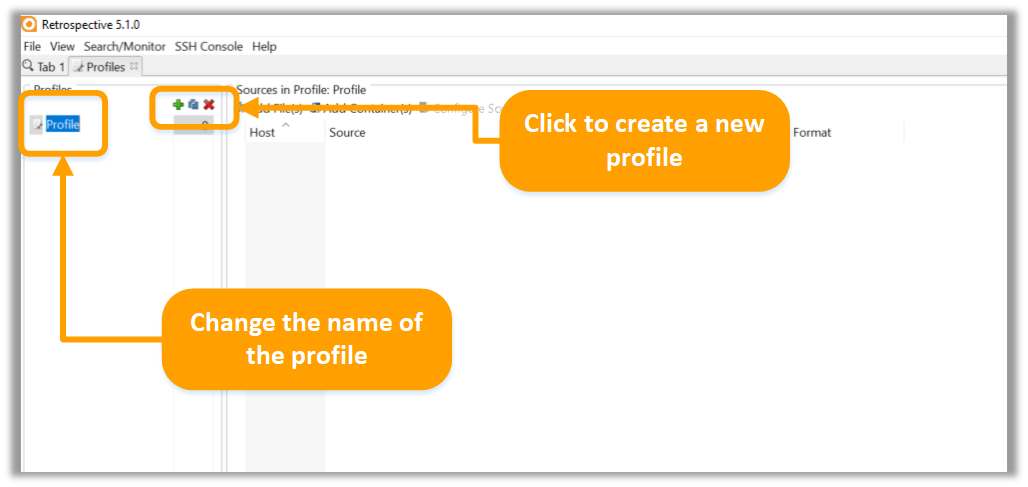
Step 2
Create a profile by clicking the [Add] button. Double-click the profile entry to change its name (The profile is in "edited name" mode per default right after creating it).
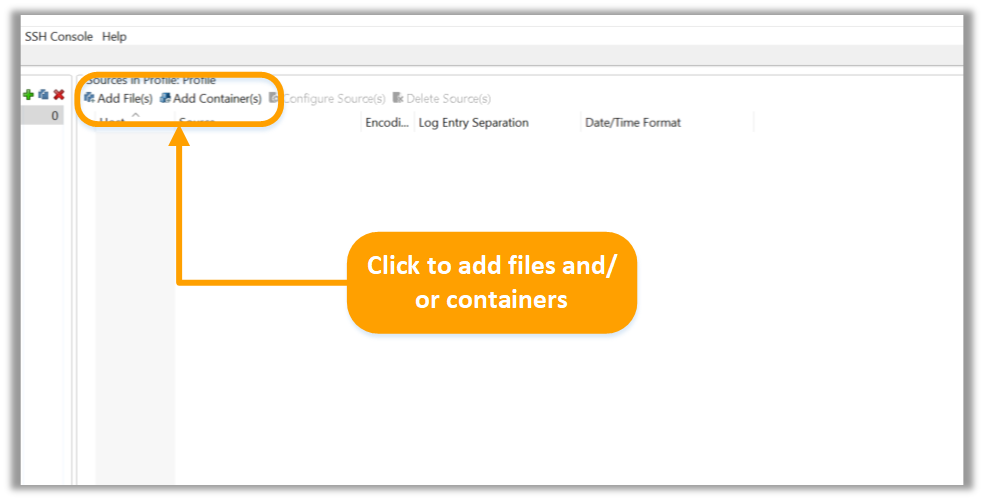
Step 3
By clicking the [Add File(s)] or the [Add Container(s)] button you can add log files or containers to your profile.
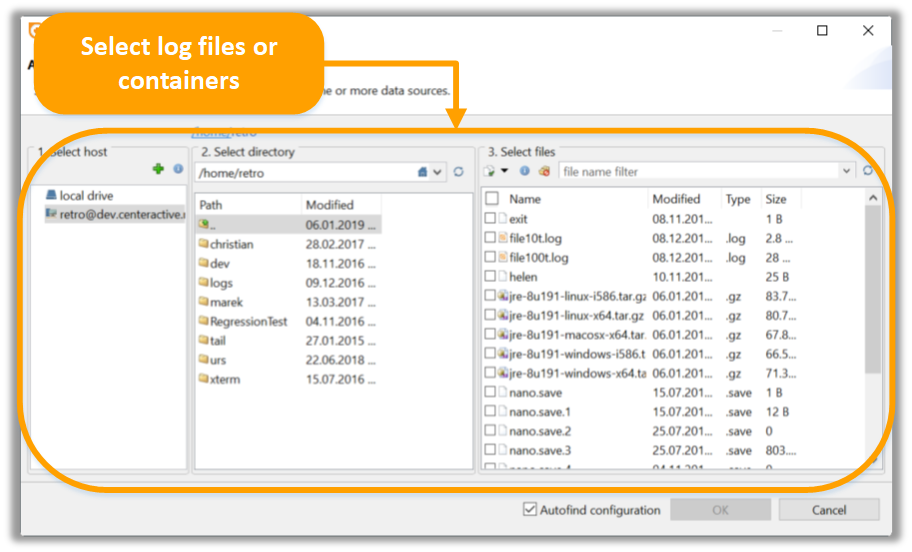
Step 4
Browse to find the desired log files or containers.
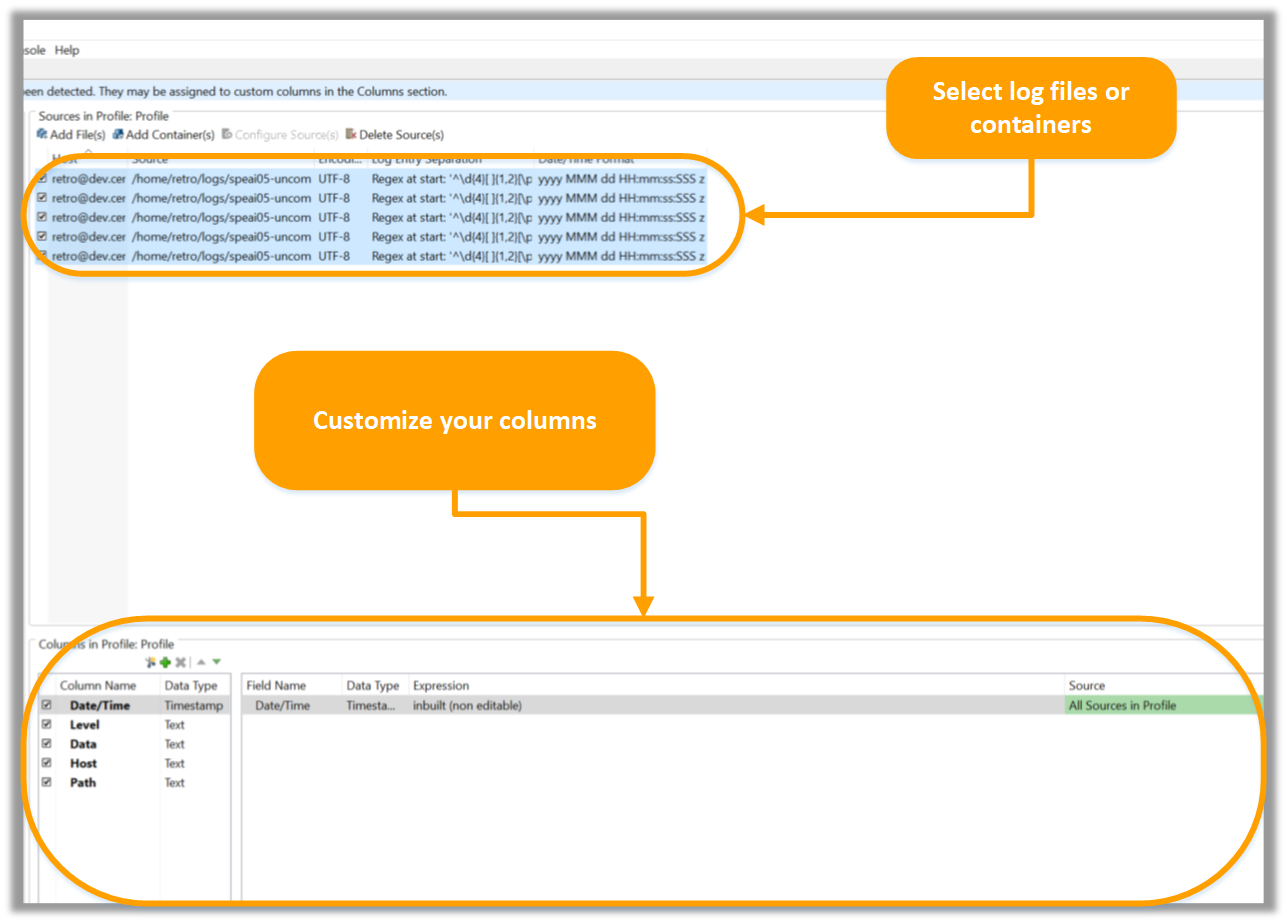
Step 5
You can now see your selected files and containers in the profile. In the lower part of the page, you have the option to customize your columns for later search and monitor processes. For more information on that, read the tutorial on the custom columns feature.